I love jam; it’s really very simple. I love it’s fruitiness, stickiness and downright jamminess and I want to make it myself. I have the fruit trees in the garden and I have the recipies so it should be child’s play shouldn’t it? Well, Quite Frankly No It’s Not. I’ve lost count of my many jam disasters; the burnt saucepan left out on the wood chopping block after attempting greengage jam to which even the chocolate Labrador raised an eyebrow. Then there was the burnt grapefruit marmalade…. I thought I might be able to save it by adding to a marmalade cake. I offered a piece to Mr Fig who chewed it thoughtfully and proclaimed that he couldn’t quite put his finger on it… “…that’ll be the brunt grapefruit.” I said…. cue loud guffaws of laughter. This can’t go on so I decided to take matters into my own hands and travelled 12,000 miles to England where I knew of a Jam expert who’d been making delicious jams for years aka my Mum. We gathered some blackberries from my sister’s allotment and a couple of apples and set to work. Here are my top tips for a Fool’s Guide to making jam that doesn’t burn!!!
Blackberry and Apple Jam
Cooking time 35-40 minutes Makes 1.5kg jam
450g Blackberries
450g cooking apples (weight when peeled and cored)
2 tablespoons water
900g sugar
Wash the blackberries and allow to drain well.
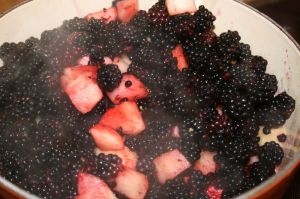
Chop the apples and put in the preserving pan with the water and simmer gently for 10 minutes.
Add the luscious blackberries and continue to cook SLOWLY. You’re looking to achieve a soft puree as the fruit softens and the fruit juices ooze out.
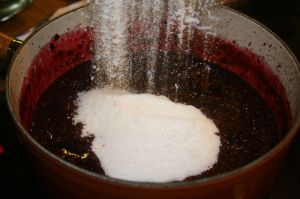
Now it’s time to add the sugar which is where it all used to go wrong for me. It’s imperative that you dissolve the sugar completely so it won’t catch on the bottom of the saucepan when you start to boil. Just keep gently stirring until there’s no grittiness to the liquid.
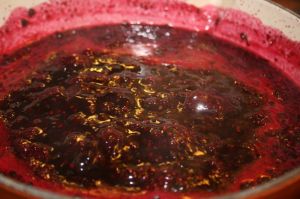
At this point turn up the heat and start to boil. Watch out for bits of flying fruit and juice as this is a feisty little jam! I used to let my jam just boil away merrily unattended but my Mum prods and pokes with a wooden spoon checking it all the time.
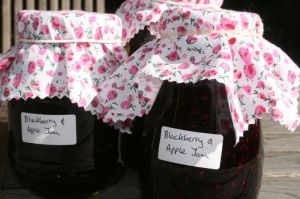
Once we got to about 7 minutes of boiling we began to test for setting point. Just spoon a little onto a saucer and if it wrinkles when you prod it then setting point has been reached. I used to fuss and sigh over whether it was a wrinkle or just a pucker or crease and would boil some more just to be sure….But I will fuss no more! Simply pour the jam into sterilised jam jars and seal with lids.
Looks good doesn’t it and it tastes sublime! It does seem so simple now I’ve seen it done. I can’t wait to get back and Try Again with the first fruit of the season – plums. I’m also desperate to try greengage jam again and will be using this great recipe from My Home Makes


